
Images, documents & data
How to compress images without making them look blurry
Reduce image file size by choosing dimensions, format, and quality in the right order.
Quick answer
Choose the display dimensions first, then the format and visual quality. Our compressor changes format and quality but keeps pixel dimensions; use Product images first if you need resizing. The downloadable mug is an AI-generated fictional product sample, not a camera original or evidence of a real product.
Step by step
Download mug-source.png, open Image compression and choose JPEG with Balanced quality. Download the result, reopen the same source and repeat with WebP. Keep both copies. The reference files below are 1254 × 1254 pixels: PNG 1,806,784 bytes, JPEG 98,914 bytes and WebP 47,638 bytes. They were encoded at quality 80 with a software canvas; your browser’s encoder can produce different sizes.
Common mistakes
This is a photographic-style sample with an opaque background, so it does not prove the same saving for logos or screenshots. JPEG removes transparency; this tool replaces it with white. PNG quality controls do not work like JPEG quality controls, and an already optimized file may become larger. Do not repeatedly compress the latest JPEG: return to the original for every comparison.
Completion check
Open the original and both outputs at 100%. Compare speckles on the mug, the handle edge and the smooth shadow; a small preview can hide artifacts. Verify dimensions, format, orientation and byte size, then inspect at the intended shop display size. Pick the smallest acceptable result rather than assuming the smallest file is best. The table describes these downloadable files, not a universal compression ratio.
Make the right call
Choose a format for the detail that matters
A shop photo and a screenshot with tiny text need different decisions. Start by identifying what customers must see: texture, lettering, a transparent edge or a smooth gradient. Then compare exports from the same original, not from a previously compressed copy.
| Check | Example or action | How to judge the result |
|---|---|---|
| Photographic product on an opaque background | Compare JPEG and WebP at the same dimensions using the mug sample. | Inspect the handle outline, glaze speckles and shadow at 100%. The smaller result is useful only if those details remain acceptable. |
| Logo or cut-out that needs transparency | Compare PNG with WebP; avoid JPEG if a transparent background is required. | Place the downloaded result over a colored background in the receiving app. A white preview alone cannot prove that transparency survived. |
| Screenshot, diagram or small lettering | Start with PNG, then compare WebP at the intended display size. | Reject halos and smeared letters even if the byte saving is large. Raising export quality cannot recover details missing from the source. |
Worked example
Boundarysline sample materials use fictional data. Download them to follow the steps; they are not real customer records or certified outputs.
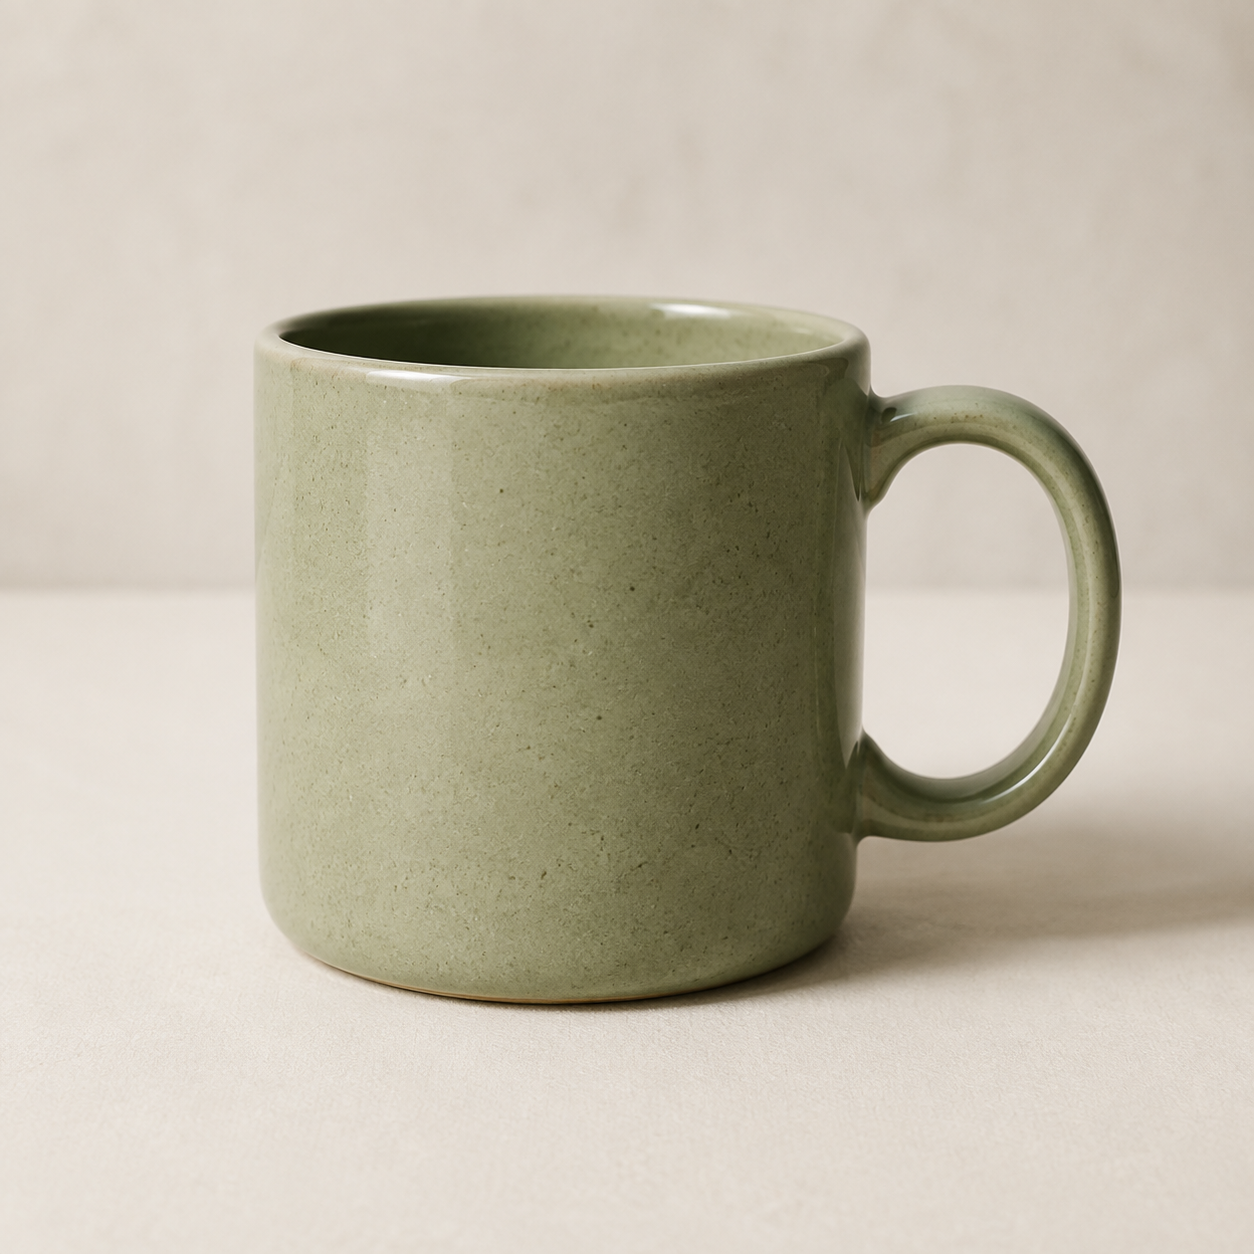
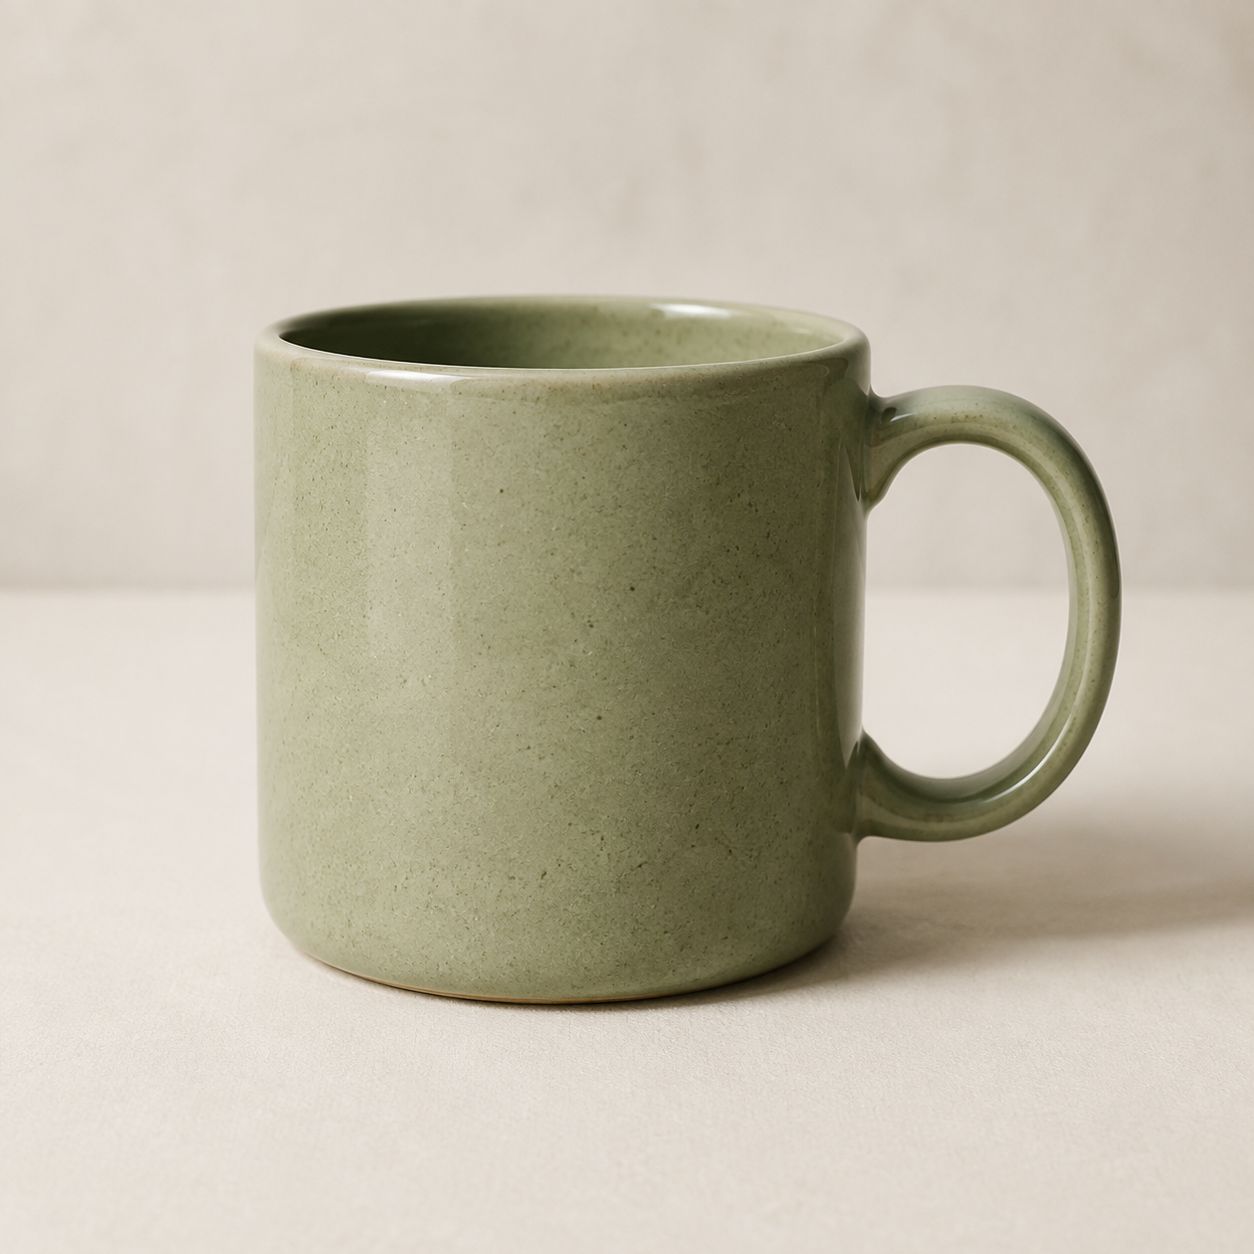
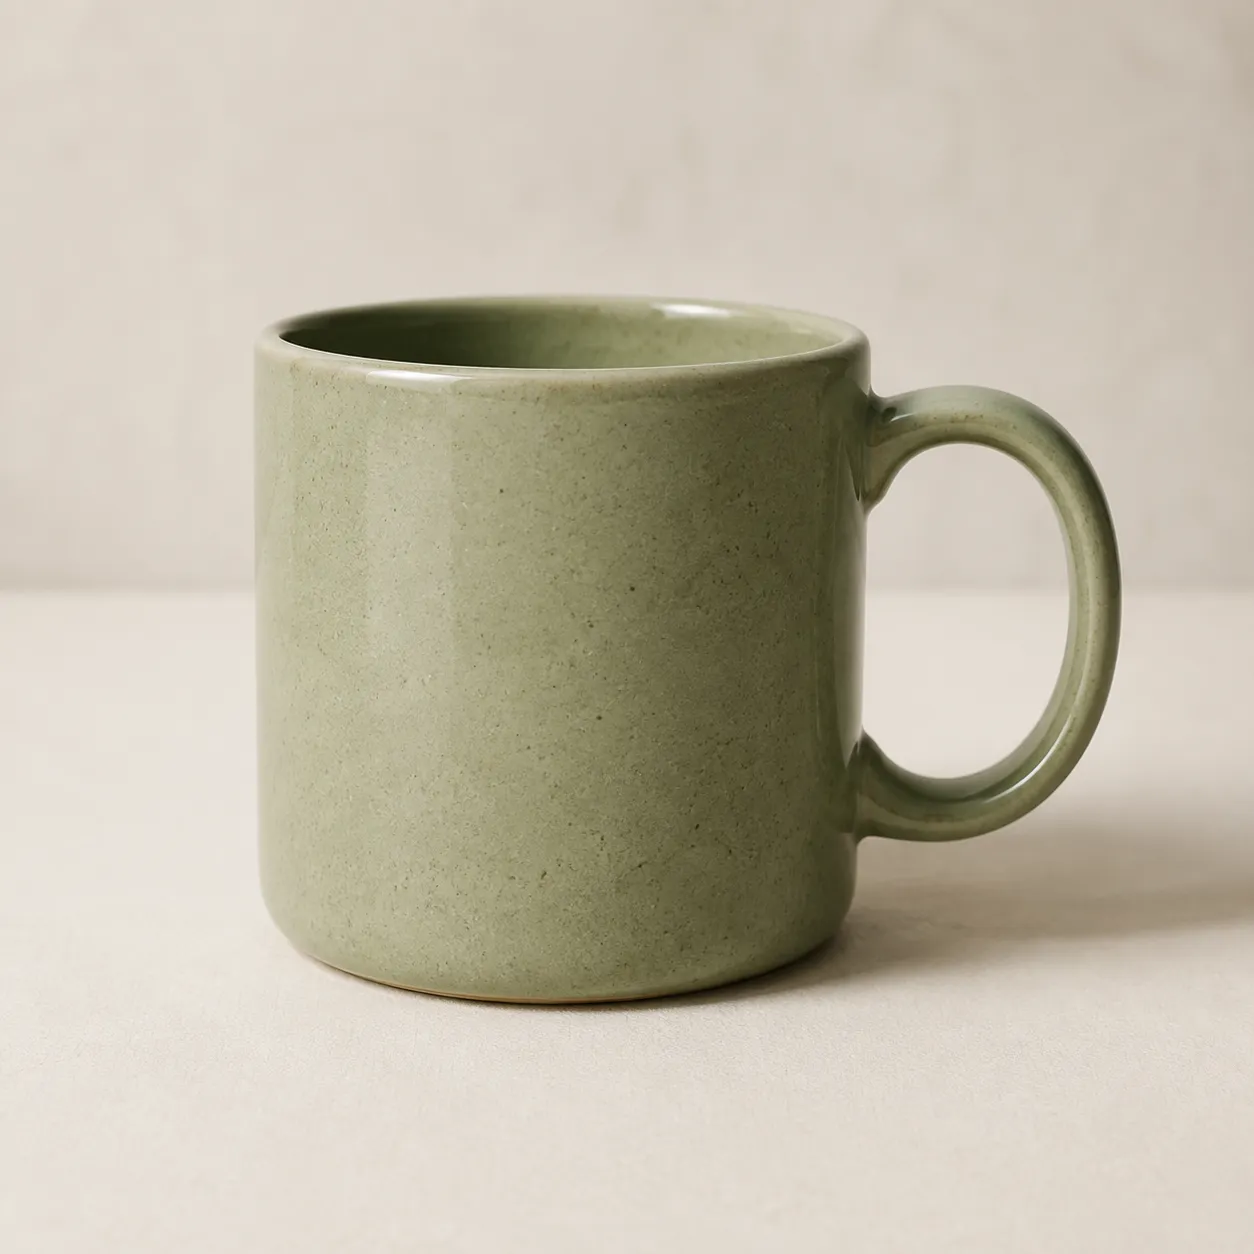
| mug-source.png | 1254 × 1254 | 1,806,784 B |
|---|---|---|
| mug-balanced.jpg | 1254 × 1254 | 98,914 B |
| mug-small.webp | 1254 × 1254 | 47,638 B |